
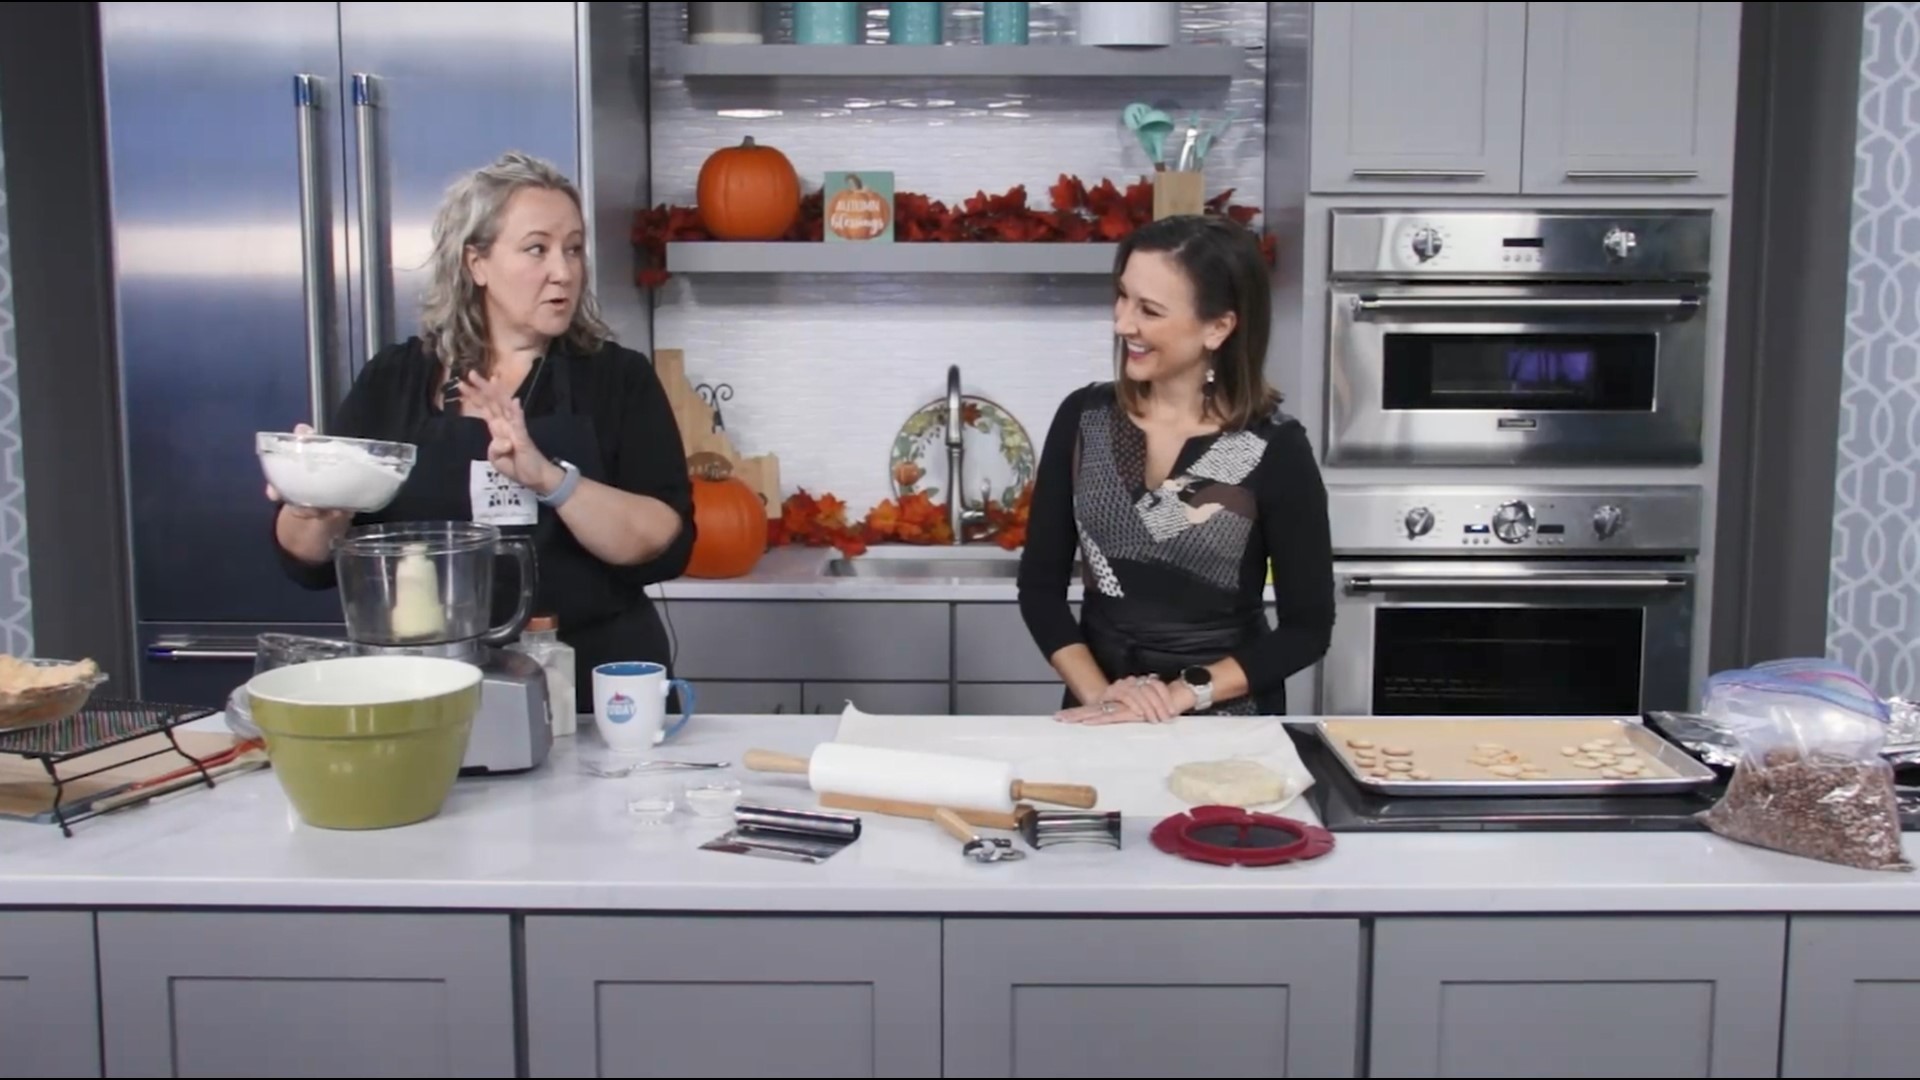
Fool Proof All-Butter Pie Pastry
by Angie Battle
Makes 2 Pie Disks, for two single crust pies or one double crust pie. Double the recipe and keep some in your freezer for later—just be sure to wrap it well to prevent freezer burn!
- 2 ½ c unbleached all-purpose flour
- 1 tsp salt
- 1 TBSP granulated sugar
- 16 TBSP (2 sticks) unsalted butter
- 3 TBSP sour cream
- ⅓ - 1+ c. ice water
- Cut butter into ½” cubes and freeze for ten minutes, but no longer than thirty.
- In a large food processor, combine flour, sugar and salt for about three quick pulses.
- Add butter cubes to flour, give it a little stir with a spatula, then pulse again for thirteen 1-second pulses. You want your butter to be “about” pea sized, but it’s okay if a few bigger chunks remain. (If you need to go a little bit further in processing, only do 2-3 pulses at a time to keep from over-processing the dough.)
- Dump the flour/butter mixture into a large mixing bowl.
- Whisk the sour cream and ⅓ c. ice water in a small bowl, then drizzle it evenly over the flour mixture. With a fork or large wooden spoon, stir the mixture together.
- Give the dough a pinch test—if it won’t hold together when pinched, you need more water. If it will hold together, stop mixing. When you do add more water, only add a tablespoon or two at a time, being careful not to add too much without first stirring.
- Once dough is holding its shape, use your hands to squeeze the dough together into a loose ball, being careful not to knead the dough. You do NOT want the dough to be “wet;” it should still feel somewhat dry, just holding together with no dry sandy bits.
- Split the dough into two equal portions and shape each piece into a rough 6-7” (or so) disk. Wrap each piece in plastic wrap and refrigerate for at least an hour.
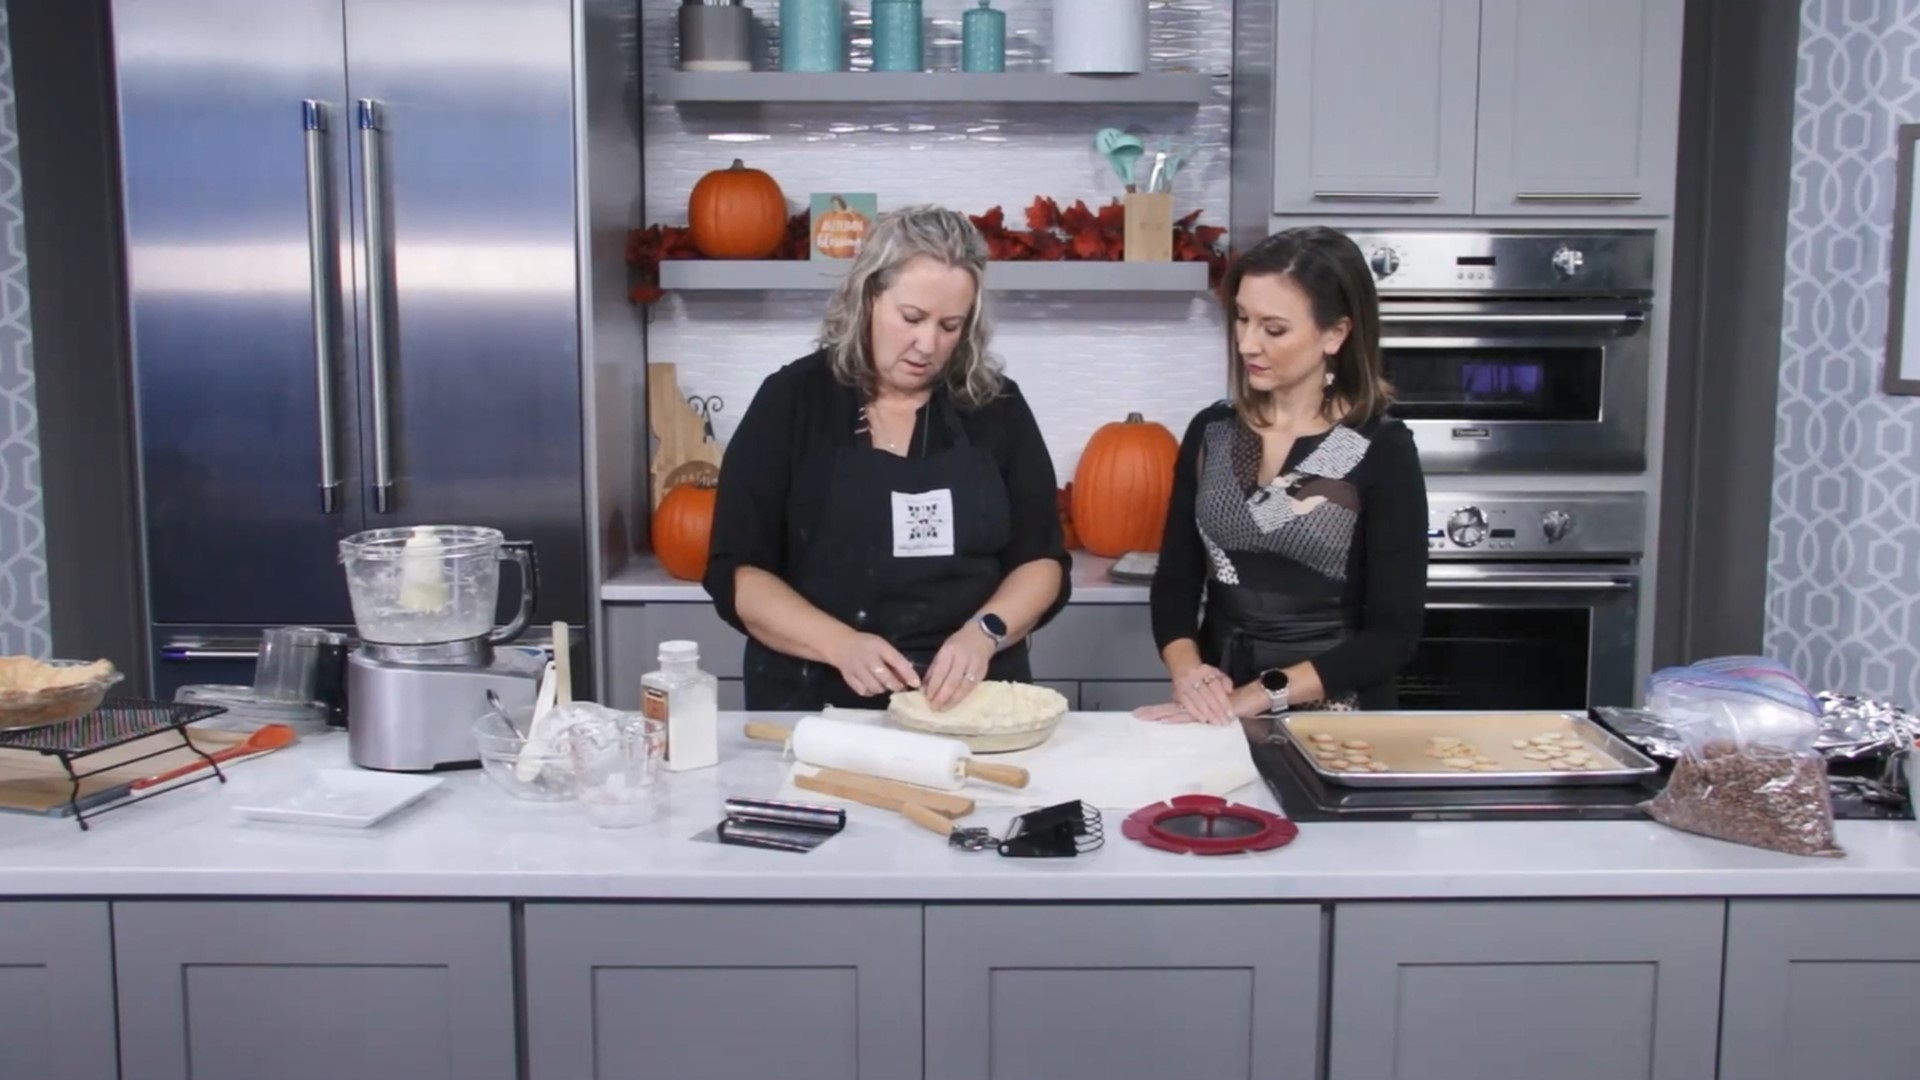
- When you’re ready to form your pie crust, let the dough disk sit at room temperature for about 20 minutes. Flour your work surface well (I prefer a pastry cloth, but the counter is fine), lay the dough disk down, and give that a good sprinkling of flour as well. Also, rub a little flour over the edges of your rolling pin before you begin.
- Roll your dough into an even ¼” circle then place in pie dish and shape. (Note: It should be about 2” wider in circumference than the pie dish you’re using.)
- Refrigerate the shell for at least a half hour, or freeze for 15 minutes, to relax the gluten and keep the fat cold.
- Either prebake your shell (following) or fill with filling and top with top crust. (If you are using a double crust, wait to chill it until it is completely assembled.
- You do not need to use a food processor, though it would make the easiest work out of it. You can also use a pastry blender in a large shallow bowl for similar results. Or, though you won’t have quite the big flakes, you could also grate frozen butter through the large holes of a cheese grater into the flour, but I’d only recommend this method in a pinch.
Watch Part 2 Below!
TO PREBAKE YOUR PIE SHELL, for Pumpkin Crème Pie or any other custard or precooked pie filling:
- Preheat your oven to 425°.
- After chilling your formed pie shell thoroughly, prick the shell about 20-30 times with a fork on the bottom and up the sides of your pie shell. (These tiny holes help keep it from shrinking too much.)
- Line the shell with a double layer of parchment or heavy aluminum foil that extends a couple of inches over the edge of the shell. Fill the paper/wrap with dry beans or pie weights, all the way to the top edge.
- Place the filled shell on the bottom rack of your oven and bake for 15 minutes, or until the sides start turning more opaque than glossy. (Obviously glass pie plates are easiest to gauge here.)
- Carefully remove the paper/foil and beans to a surface they can cool on. Reduce the oven temperature to 375°.
- Reinsert the shell into the oven until it is completely done, light to medium golden brown. Let cool completely before adding any type of filling.
- NOTE: If you are filling the crust with a precooked filling, i.e., chocolate or banana cream, etc., be sure to seal the crust before you add anything to keep it crisp. The easiest way to do this is to whisk then brush an egg white over the hot crust. The heat will cook and set it, and it forms a moisture barrier that will hold up to anything moist.